
It’s surprising that, given Subversion (SVN) is an Apple officially supported revision control system for development (Xcode has support for it), Leopard Server has no real GUI support for getting a subversion server up and running (or any other revision control system server). Yes, Leopard Server does ship with Subversion. But to use it for your internal projects there is quite a bit of setup required.
There are a number of resources on the net showing how to setup Subversion on Leopard Server, but just about every tutorial I’ve seen ends up with something that works – but if you make any unrelated changes to your web server with the Server Admin tool at a later date you end up changing your SVN settings and having to redo them.
What I propose below is a general way to avoid this problem that can be applied to Subversion and other tools. I also try and do this in the most OS X way I can, using OS X style folder locations and naming, and the Server Admin tool wherever possible. Further, I show how to integrate with Open Directory for authentication (the standard user authentication method used by Leopard Server).
Creating the repository
The first thing we need is a repository on Leopard Server to store all your files that are under SVN control. In OS X style, I have chosen to store this repository in /Library/Subversion. I will set it up to have multiple repositories – my first is called “projects“. You should change as you see fit. As “projects” will later be accessible via a url, where most url components are lowercase, I chose to name all our repositories in lowercase.
You will need to open Terminal, and type the following. You will need to enter your admin password.
sudo svnadmin create \
/Library/Subversion/Repository/projects
sudo chown -R www:admin /Library/Subversion
sudo chmod -R 770 /Library/Subversion
Using Server Admin
Start up Server Admin on Leopard Server, and go to the Web section. Click on Sites at the top of the Server Admin screen. In my setup, I’ve chosen to have two sites – our intranet on port 80, and our SVN services on port 443 (i.e. we will access SVN using https). Do this by selecting the + button under the list of domains.
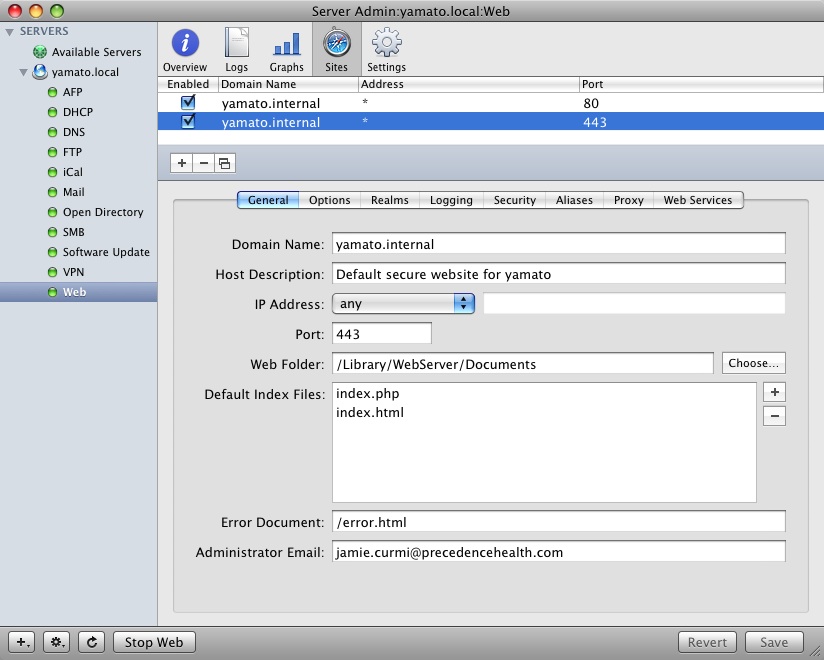
Under the General tab, fill in the details for your server. In particular, make sure your domain name is set correctly, and will not change later. In the example below, our machine is called “yamato” and the domain is “yamato.internal” – an internal domain that isn’t used outside of the VPN.
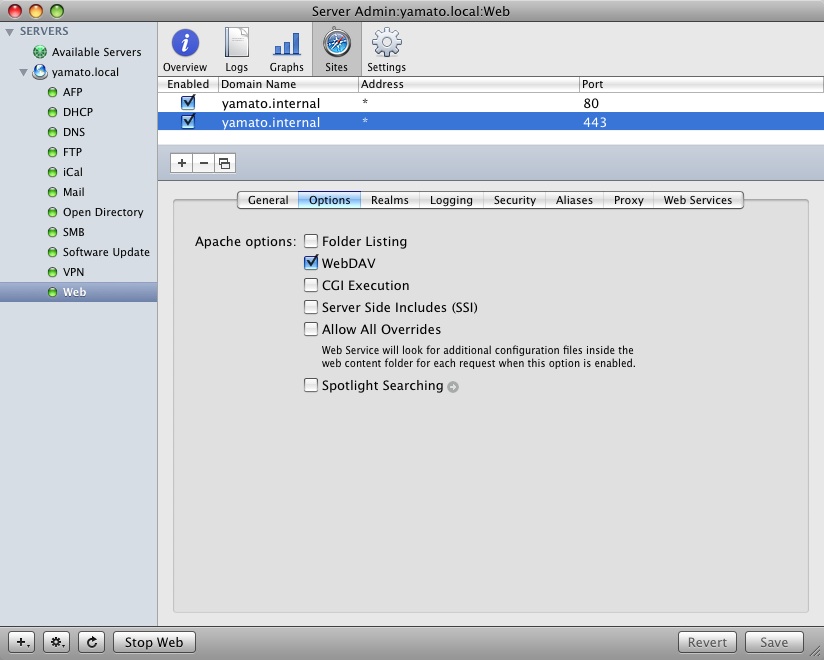
Under the Options tab, select “WebDAV”.
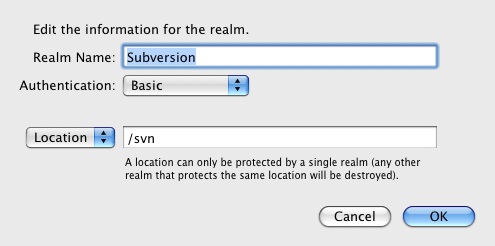
Under the Realms tab, we create a new Realm. This will be used in the future to add new users giving them access to SVN (or not). You create a new Realm by clicking on the + button under the Realms list. Fill in the dialog box that slides out as shown below.
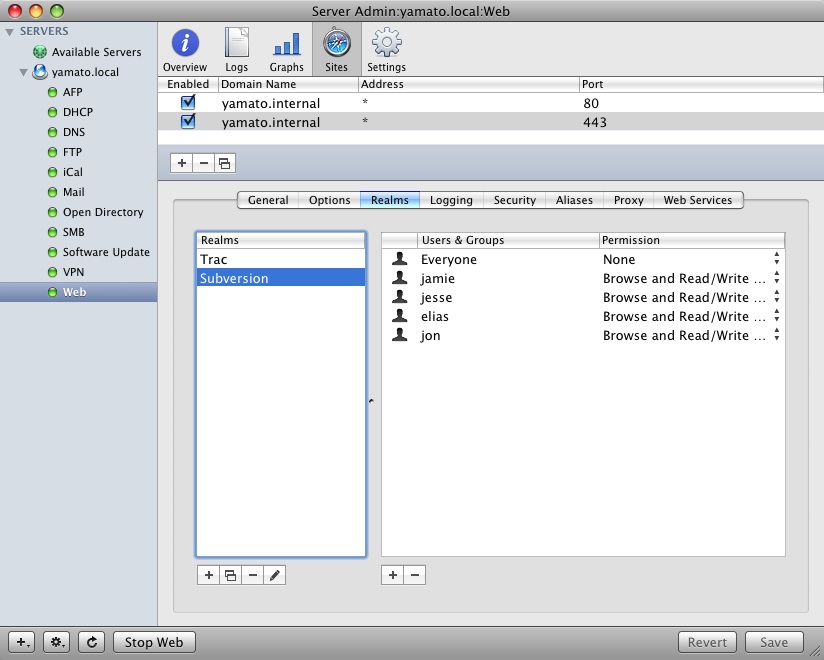
I call my Subversion Realm “Subversion”. Once created, to the right I add the users I want to allow access to SVN, giving them appropriate access (in this case all my users have “Browse and Read/Write WebDAV”).
Under the Security tab, select “Enable Secure Sockets Layer (SSL)”. I created a new certificate, but you can use the default that Leopard Server creates for you on installation.
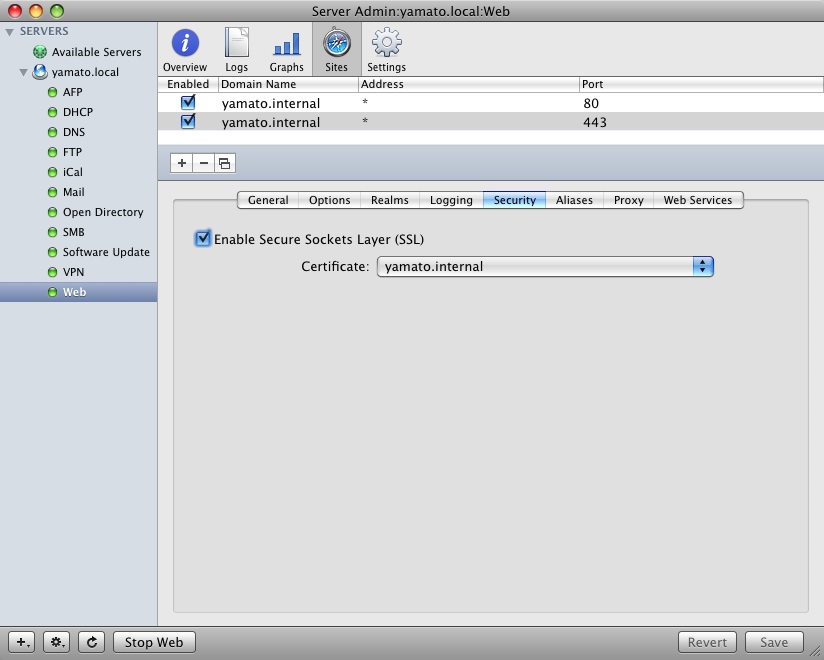
Now save your changes.
Click on Settings at the top, and choose the Modules tab. In this tab, find “dav_svn_module” and enable it by ticking the appropriate check box.
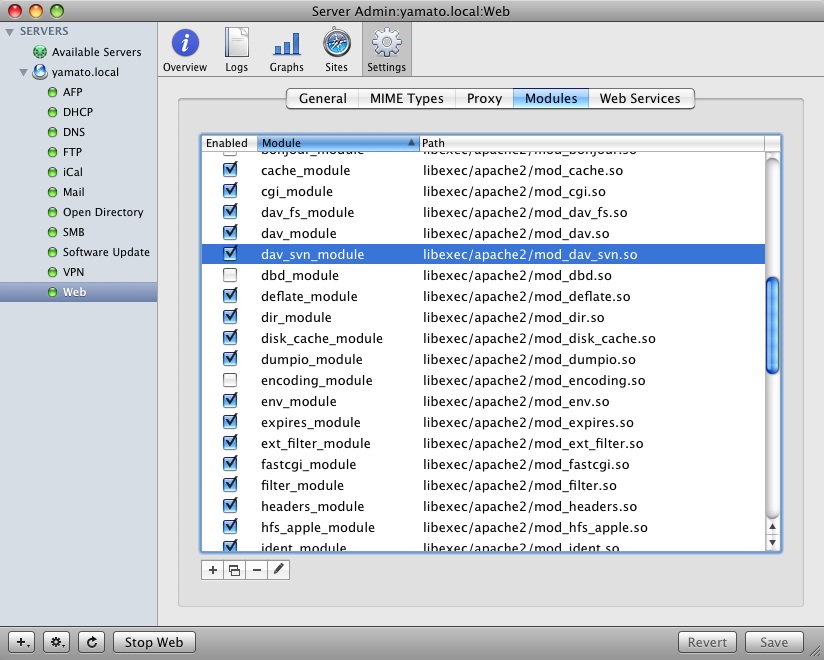
Save your changes.
Back to the Terminal
In Terminal, go to the directory /etc/apache2/sites. Here you will find configuration files for your domains. Of particular interest is the domain I have setup for SVN:
0001_any_443_yamato.internal.conf
We want to avoid changing this file as much as possible, only changing it enough to load the changes we need, and changing areas that won’t change if we make further changes to this file via Server Admin. To do this we create a sub-directory called 0001_any_443_yamato.internal.
cd /etc/apache2/sites
sudo mkdir 0001_any_443_yamato.internal
Now, edit 0001_any_443_yamato.internal.conf using your favourite command-line editor.
sudo vi 0001_any_443_yamato.internal.conf
In the file, find the line:
LogLevel warn
Above this line put:
Include “/etc/apache2/sites/0001_any_443_yamato.internal/*.conf”
Replacing the name of the server with the name of your server.
Now, go to the directory you created, and create a new file called httpd_svn.conf.
cd /etc/apache2/sites/0001_any_443_yamato.internal
sudo vi httpd_svn.conf
In this file, type the following
<Location “/svn”>
DAV svn
SVNParentPath /Library/Subversion/Repositories
</Location>
and save your changes.
Back to Server Admin
Restart the web server, by clicking Stop Web and then Start Web.
Almost done
Now you just need to add a new project. You’ll need to create the usual SVN directory structure for a project, and import the project with svn import. The URL for the projects repository, in my example, is https://yamato.internal/svn/projects. Authentication will use usernames and passwords of users in your Open Directory.
And that should be it. Now you should be able to add and remove people from the Subversion Realm at will, without having to mess with the configuration files. The general idea of putting extra configuration files in to a subdirectory makes extending Apache much easier while maintaining the use of Server Admin for day to day GUI tasks – I’ll show you how easy that is soon in another blog article on getting Trac up and running on Leopard Server.
Troubleshooting
At a later date we discovered that svn status -u didn’t work – giving an error. We found that we could only get this working by turning off the Forward Proxy we had configured under Web Settings in Server Admin. It is quite possible this could be fixed by adding an appropriate ProxyPass directive in httpd_svn.conf, but haven’t figured that out yet. If you do, please let me know.
Nice tutorial, I have SVN on my leopard server but getting it to work with open directory is something I need to look into.
Keep the articles coming! I love the site.
This is the only tutorial I’ve followed that worked and it worked the first time. Thanks a whole bunch.
Any more clever tutorials?
There are a few more Richard. Check out the archive or check out the Mac category – there is one on Trac, and some on LDAP. I also have some more coming on Leopard Server in the next few weeks.
Thanks! This worked great.
The only thing I missed was the fact that the http URL will have the repository name at the end of it. (In case someone else gets stuck on that)
Great post! I used this as the basis for our setup, but our Programmers wanted 1.5.2. To use the most recent version of SVN, all you need to do (prior to using this guide) is install the binary version of SVN 1.5.2, copy the 1.5.2 versions of mod_dav_svn.so and mod_authz.svn.so to libexec/apache2, and adjust the PATH line (under/etc/paths) so that 1.5.2 is default after reboot. Once you’ve done that, this guide takes you the rest of the way perfectly.
Pingback:Curmi the Blog » Blog Archive » Trac on Leopard Server
Is Basic authentication for the subversion realm secure?
I had followed these instructions long ago, hadn’t used subversion for a while, then tried to use it and it failed. It turned out I had changed the authentication for the Subversion realm from Basic to Digest at some point, thinking it might be a security hole. Versions.app had problems with this, which were fixed when I reverted to Basic authentication. I’m wondering if this is a problem for a machine in data center directly connected to the internet. My guess is, as long as I always access the server with a https URI, it’s safe. Enabling SSL in server admin doesn’t mean it’s required.
Heh, maybe you inspired someone at Apple to write an official guide for this. The following article was published in February 2009:
http://developer.apple.com/mac/articles/server/subversionwithxcode3.html
Some people may find the additional information on using Subversion in Xcode to be helpful. Cheers!